Noticing

/344 - Here We Go (Again)

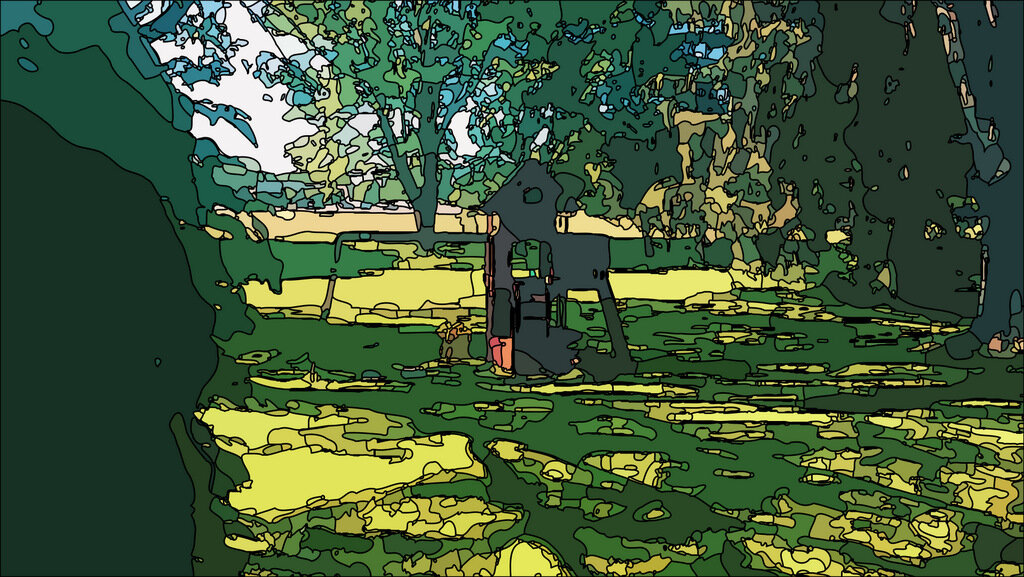
Another beautiful day. We took a long walk and played on the playground this morning, then finished up all my pre-winter chores (except getting the garage organized) this afternoon. This weekend was great, but it went by really fast!

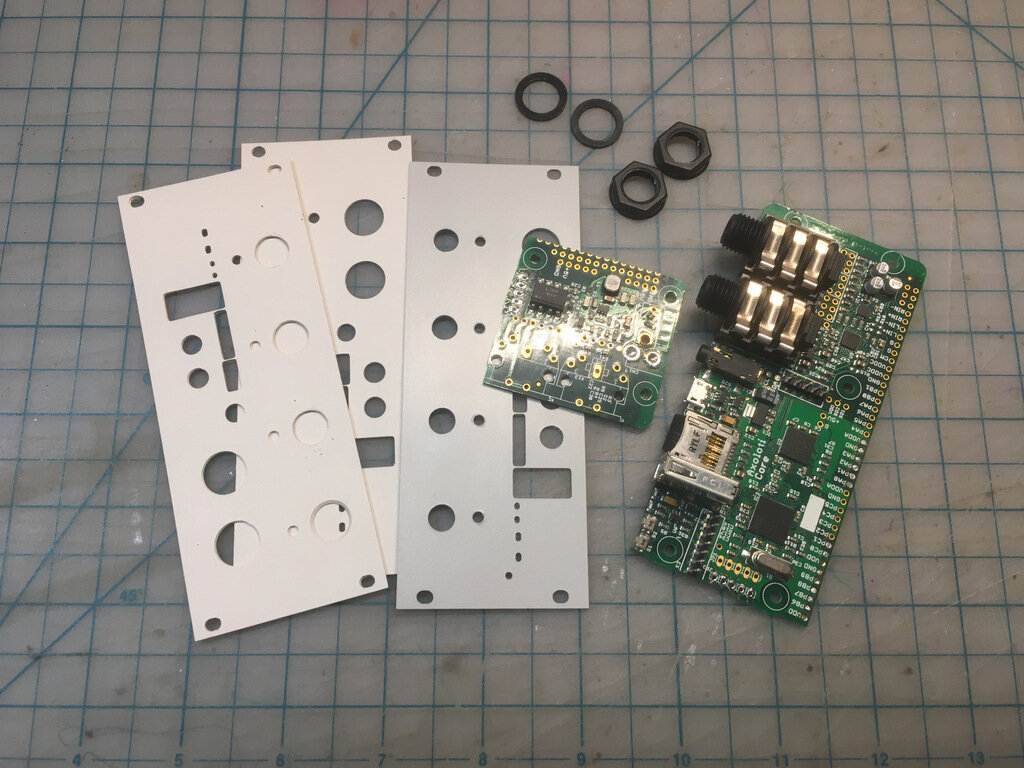
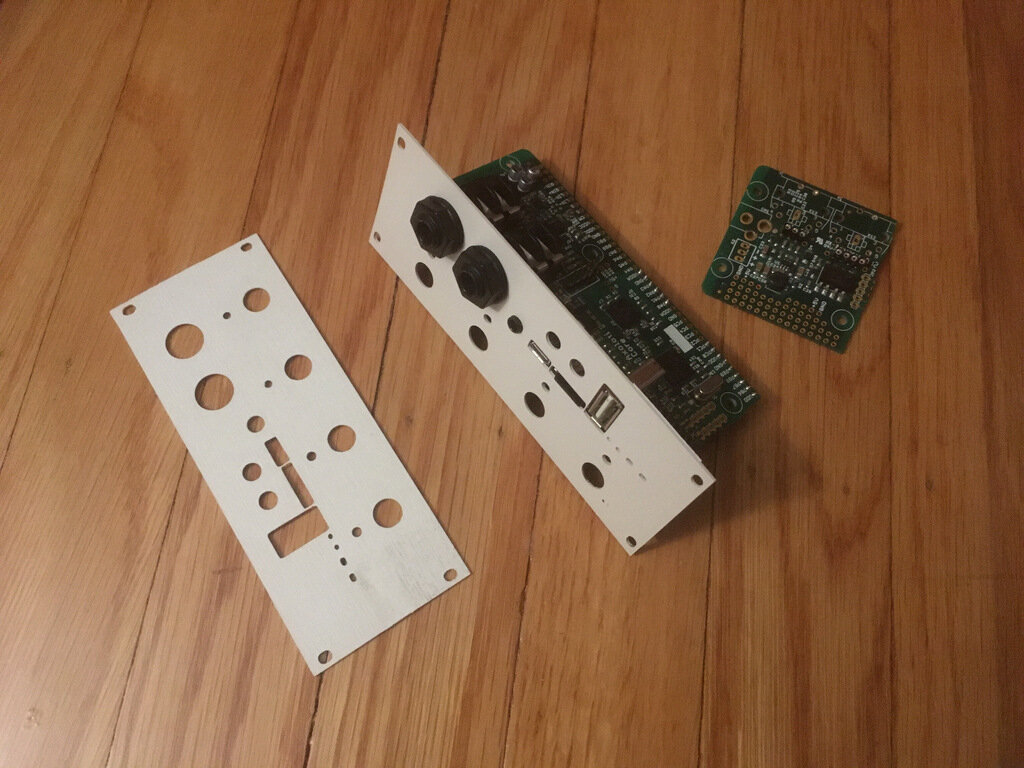
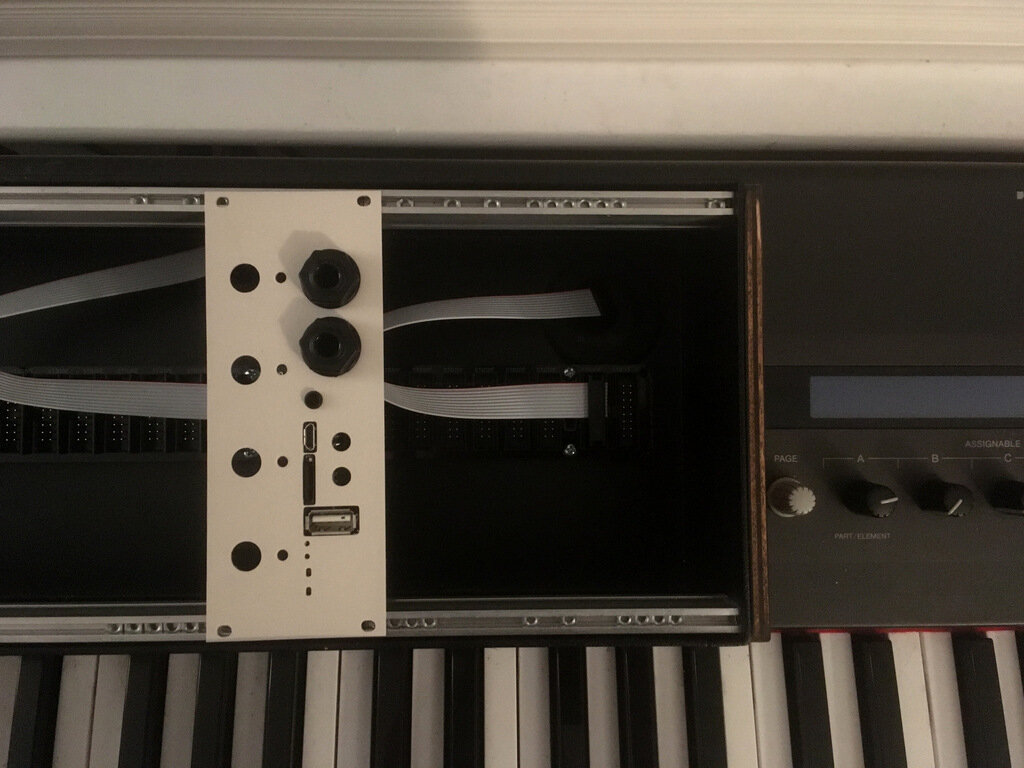
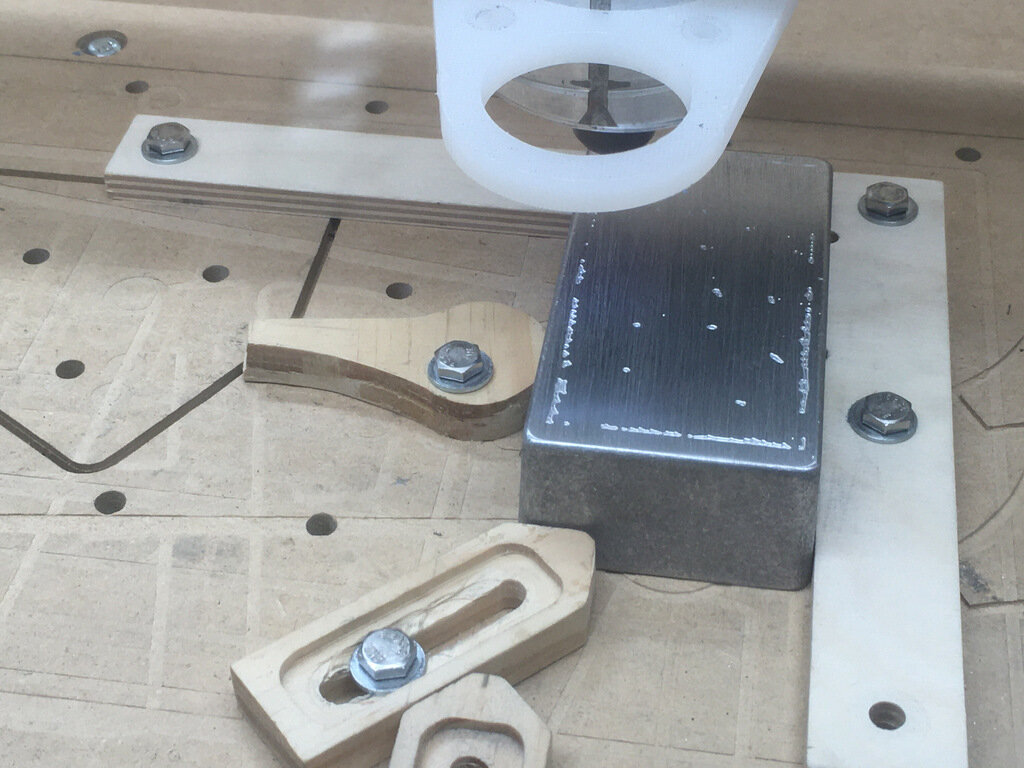
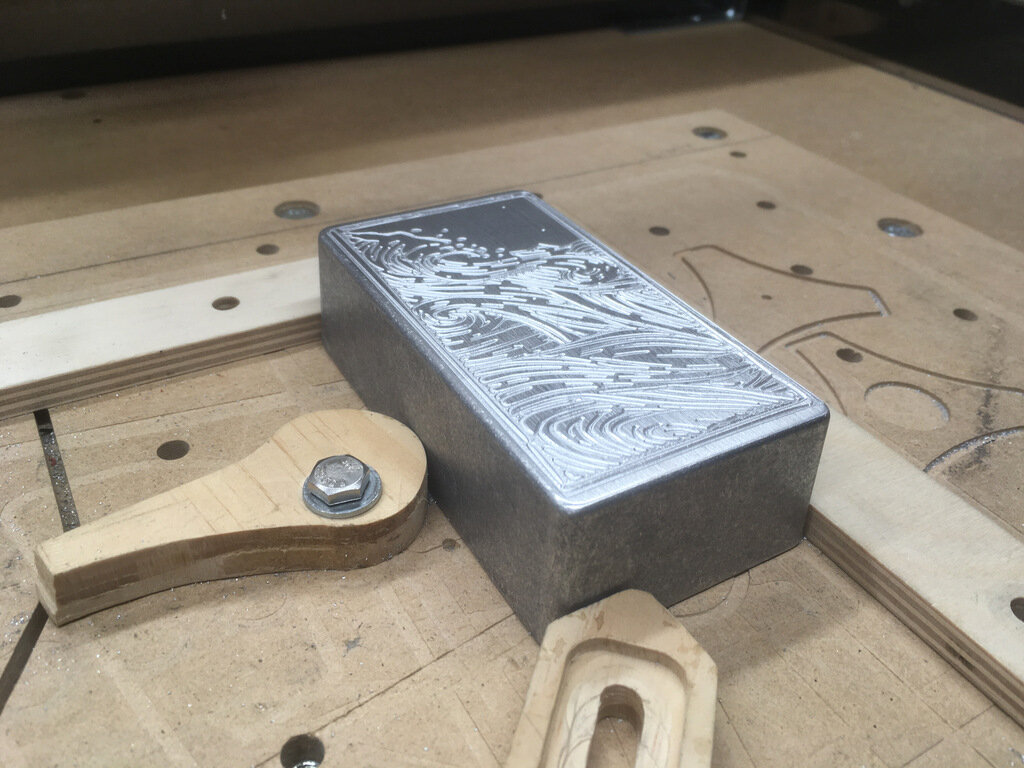
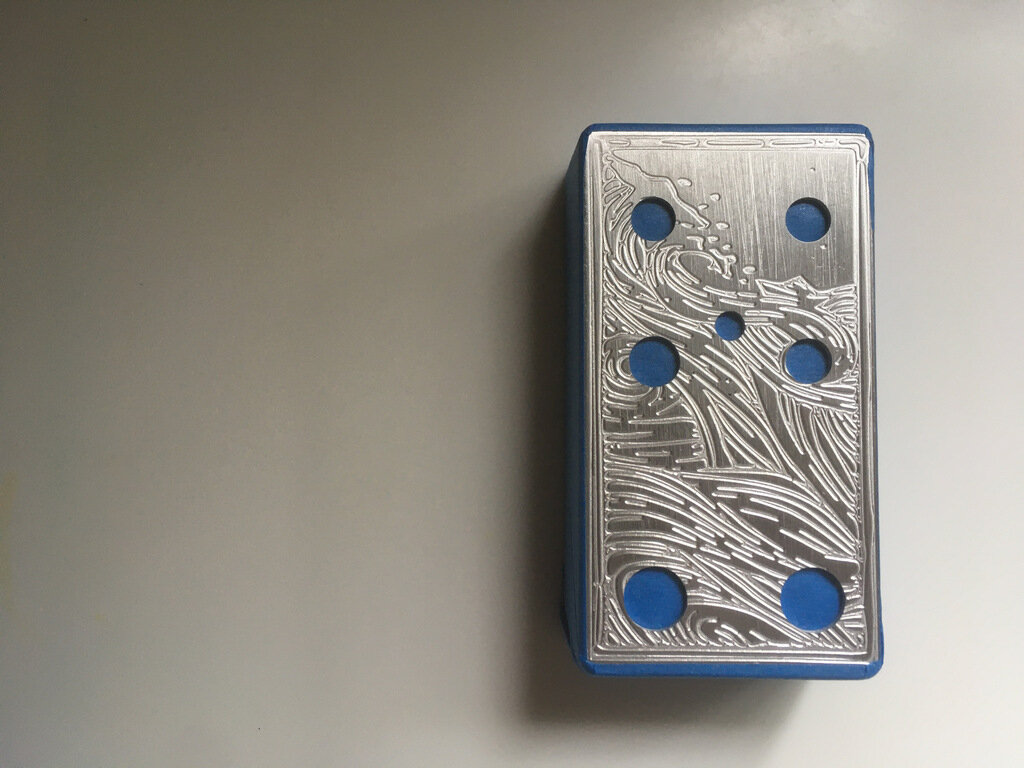
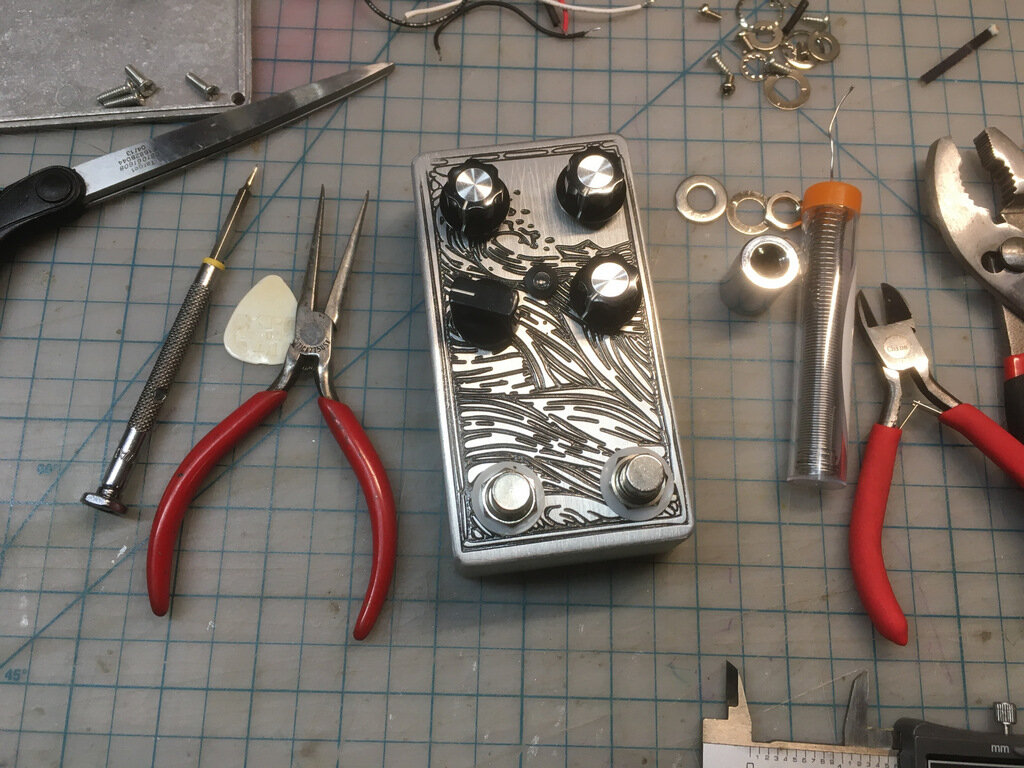
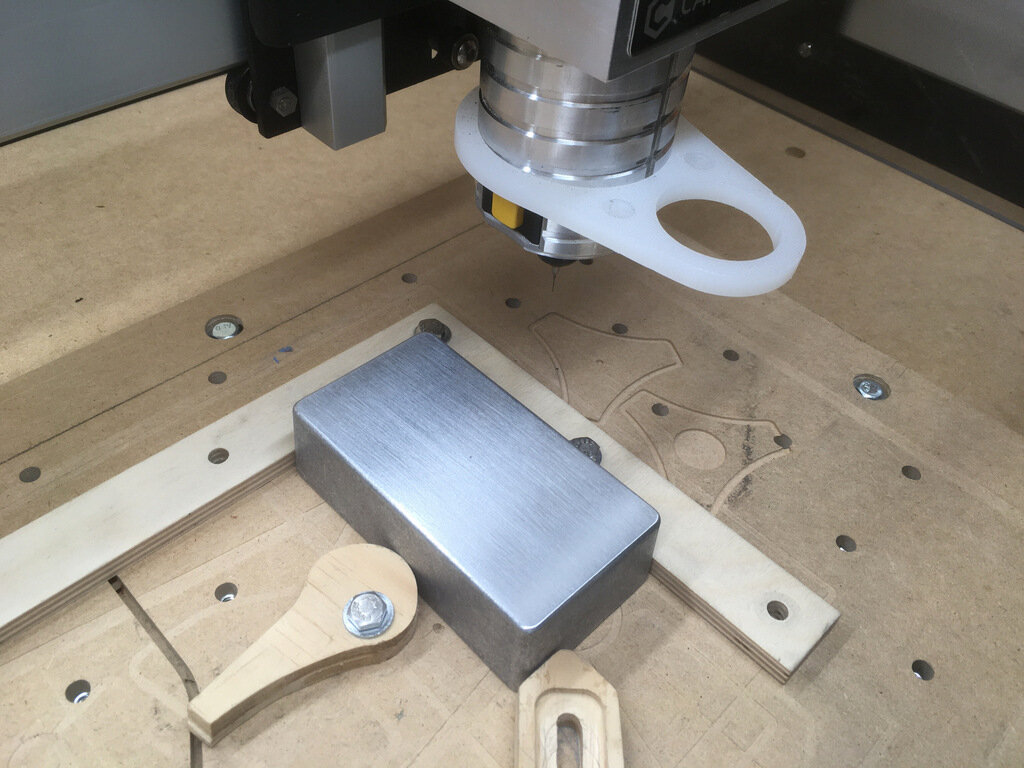
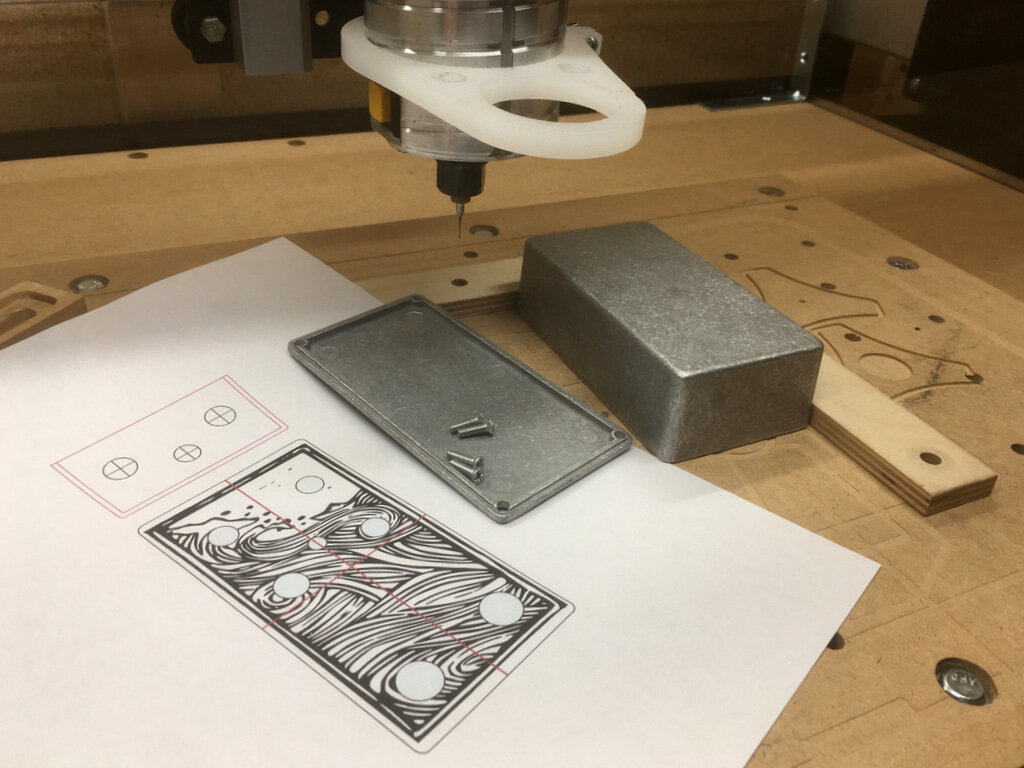
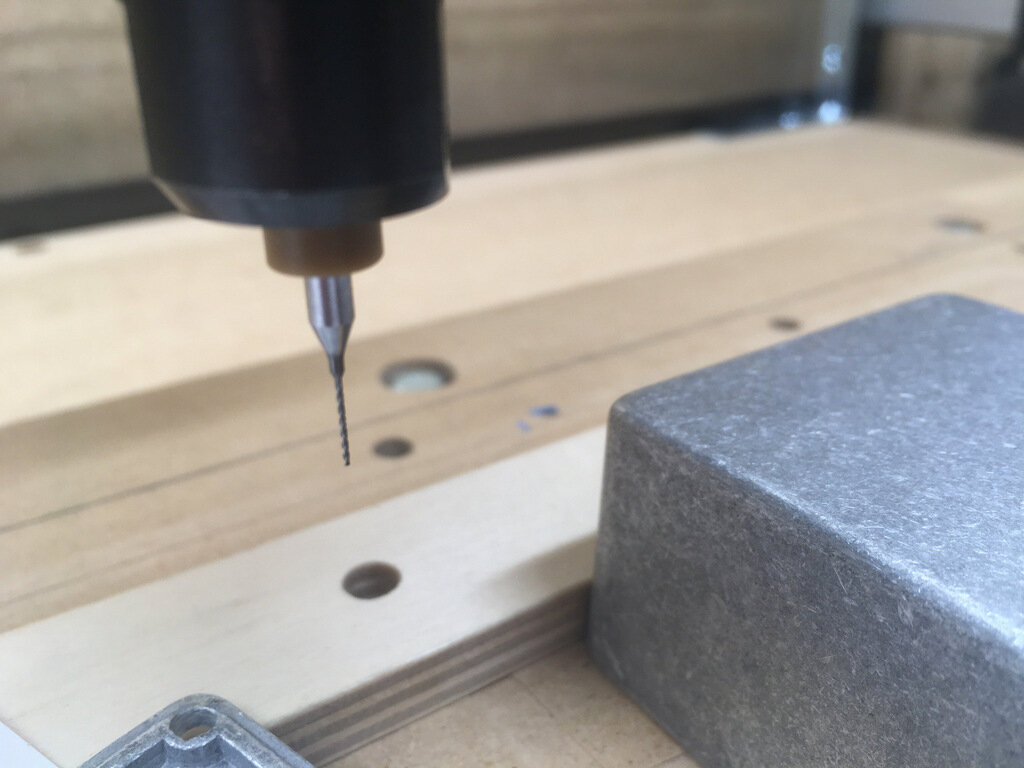
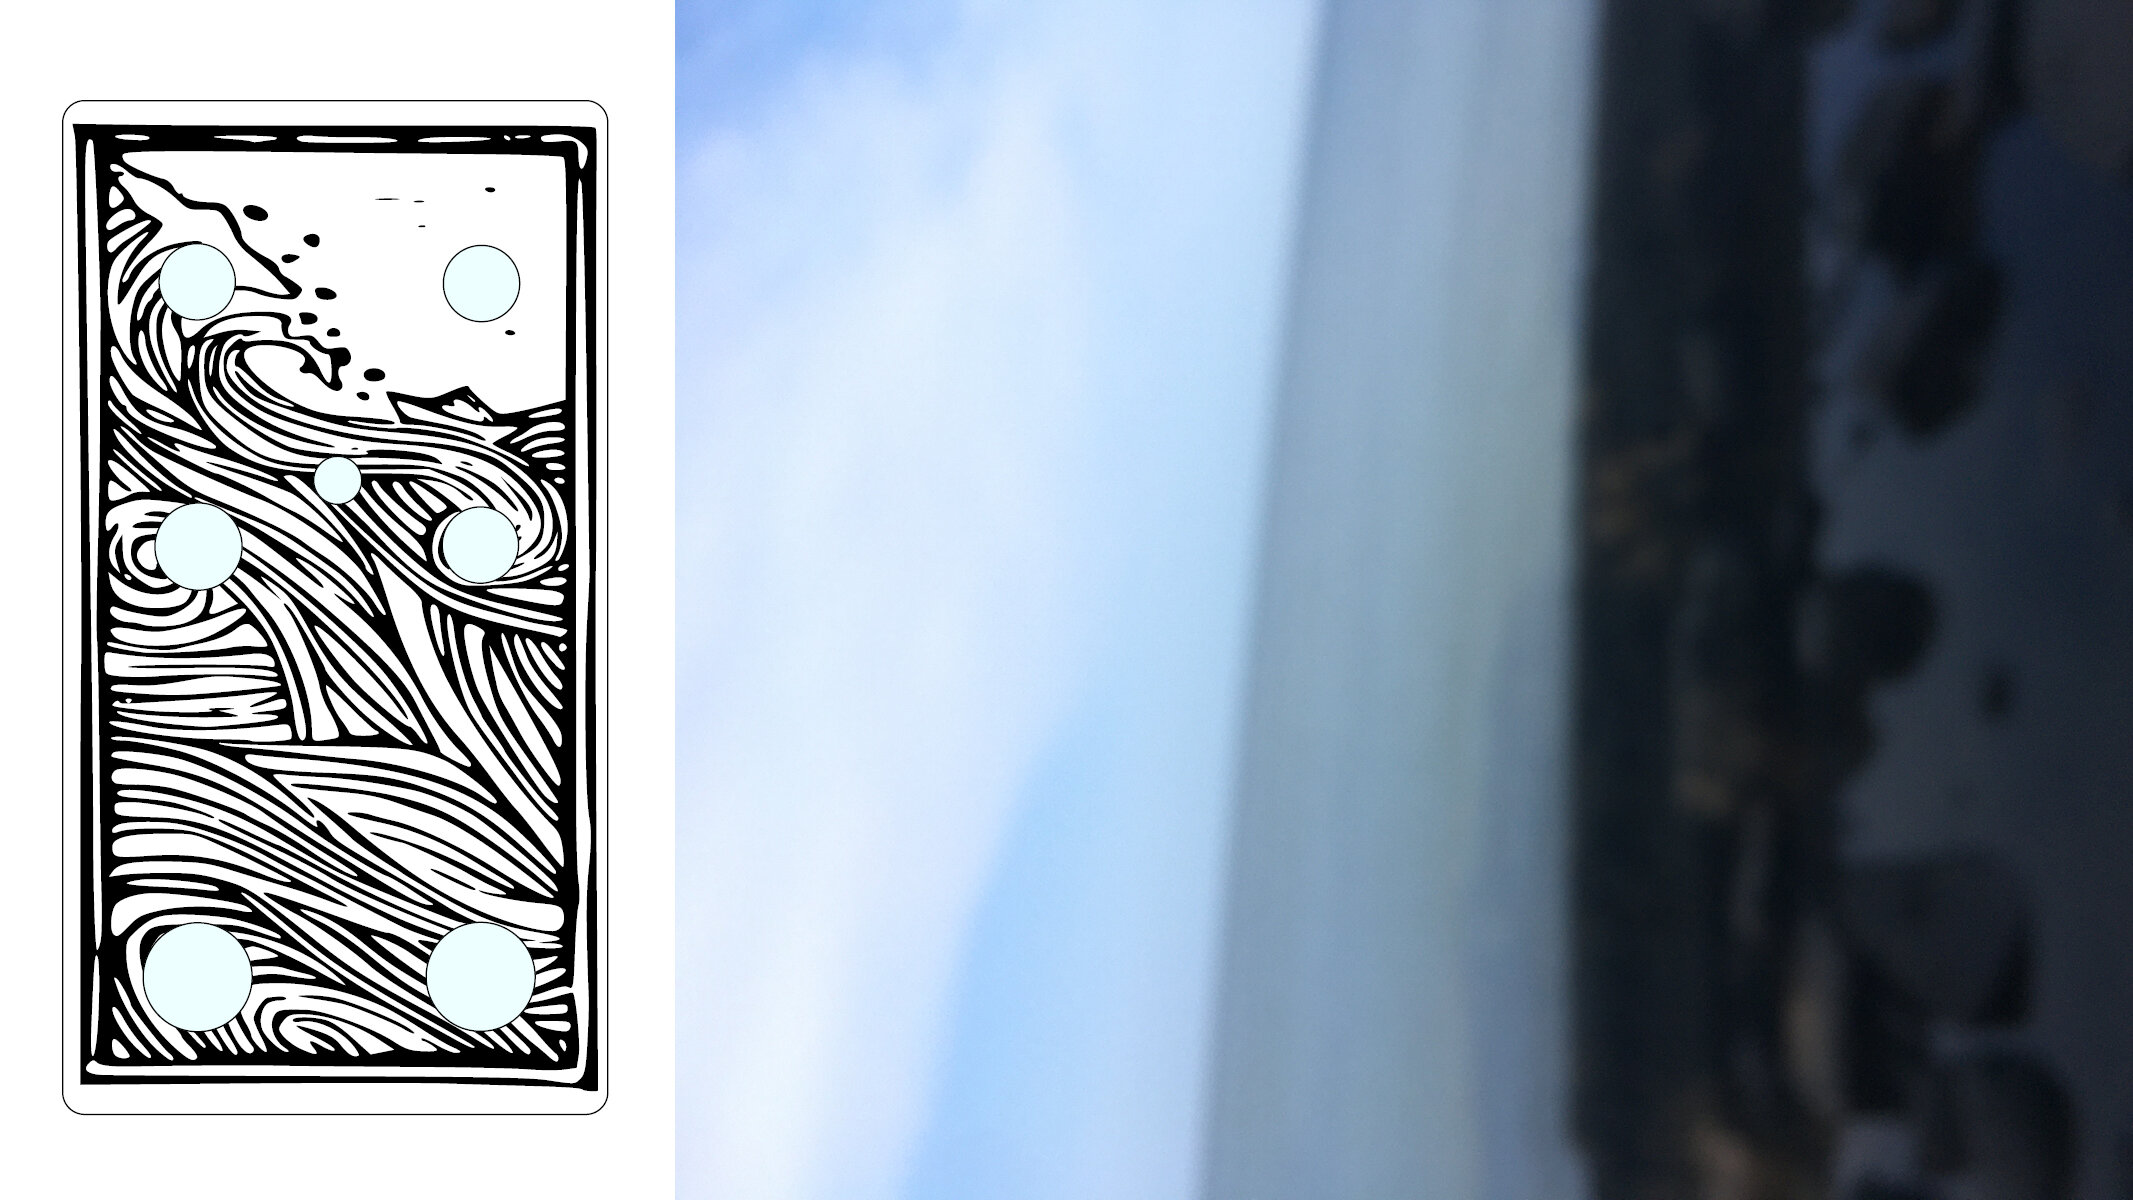
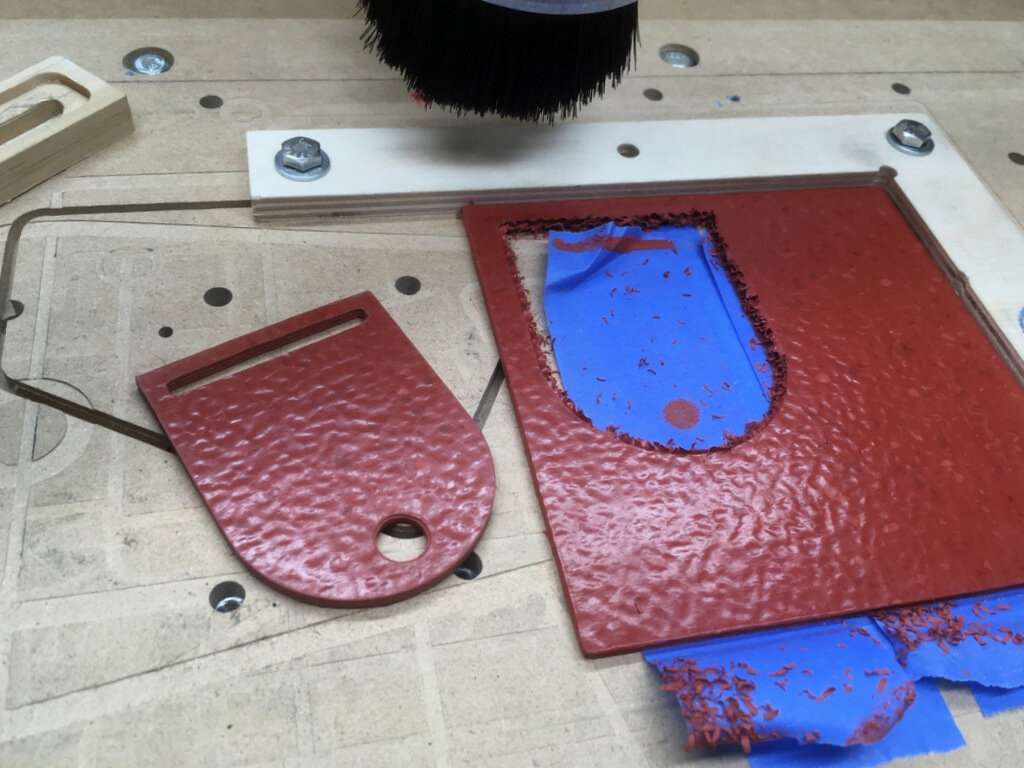
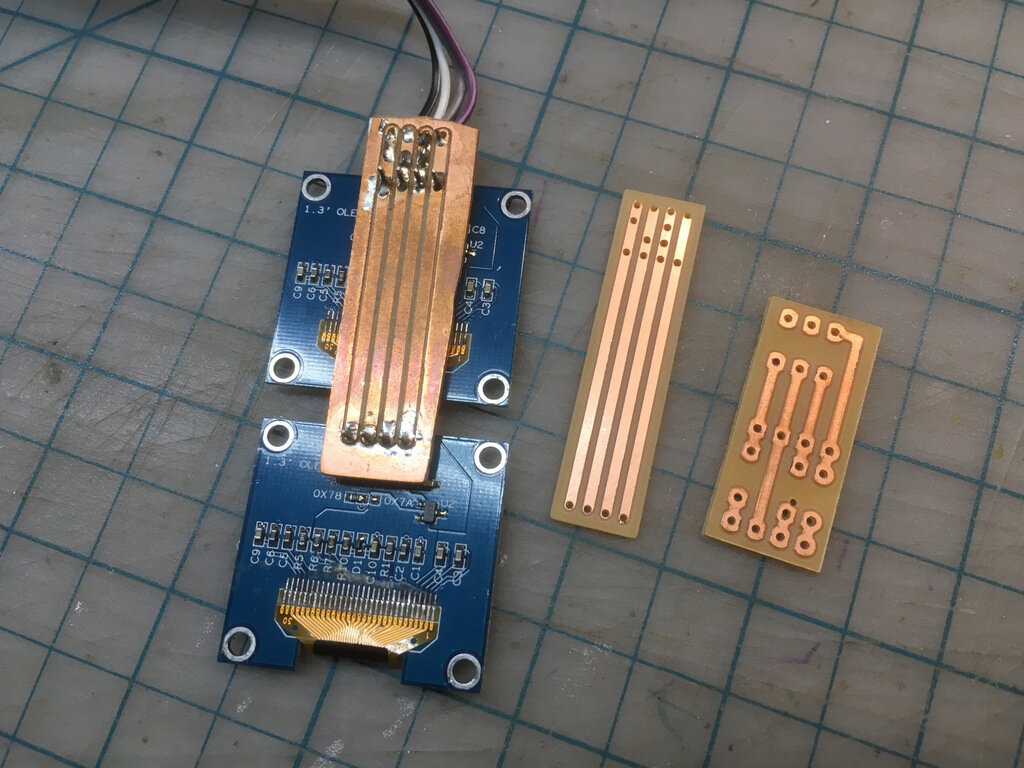
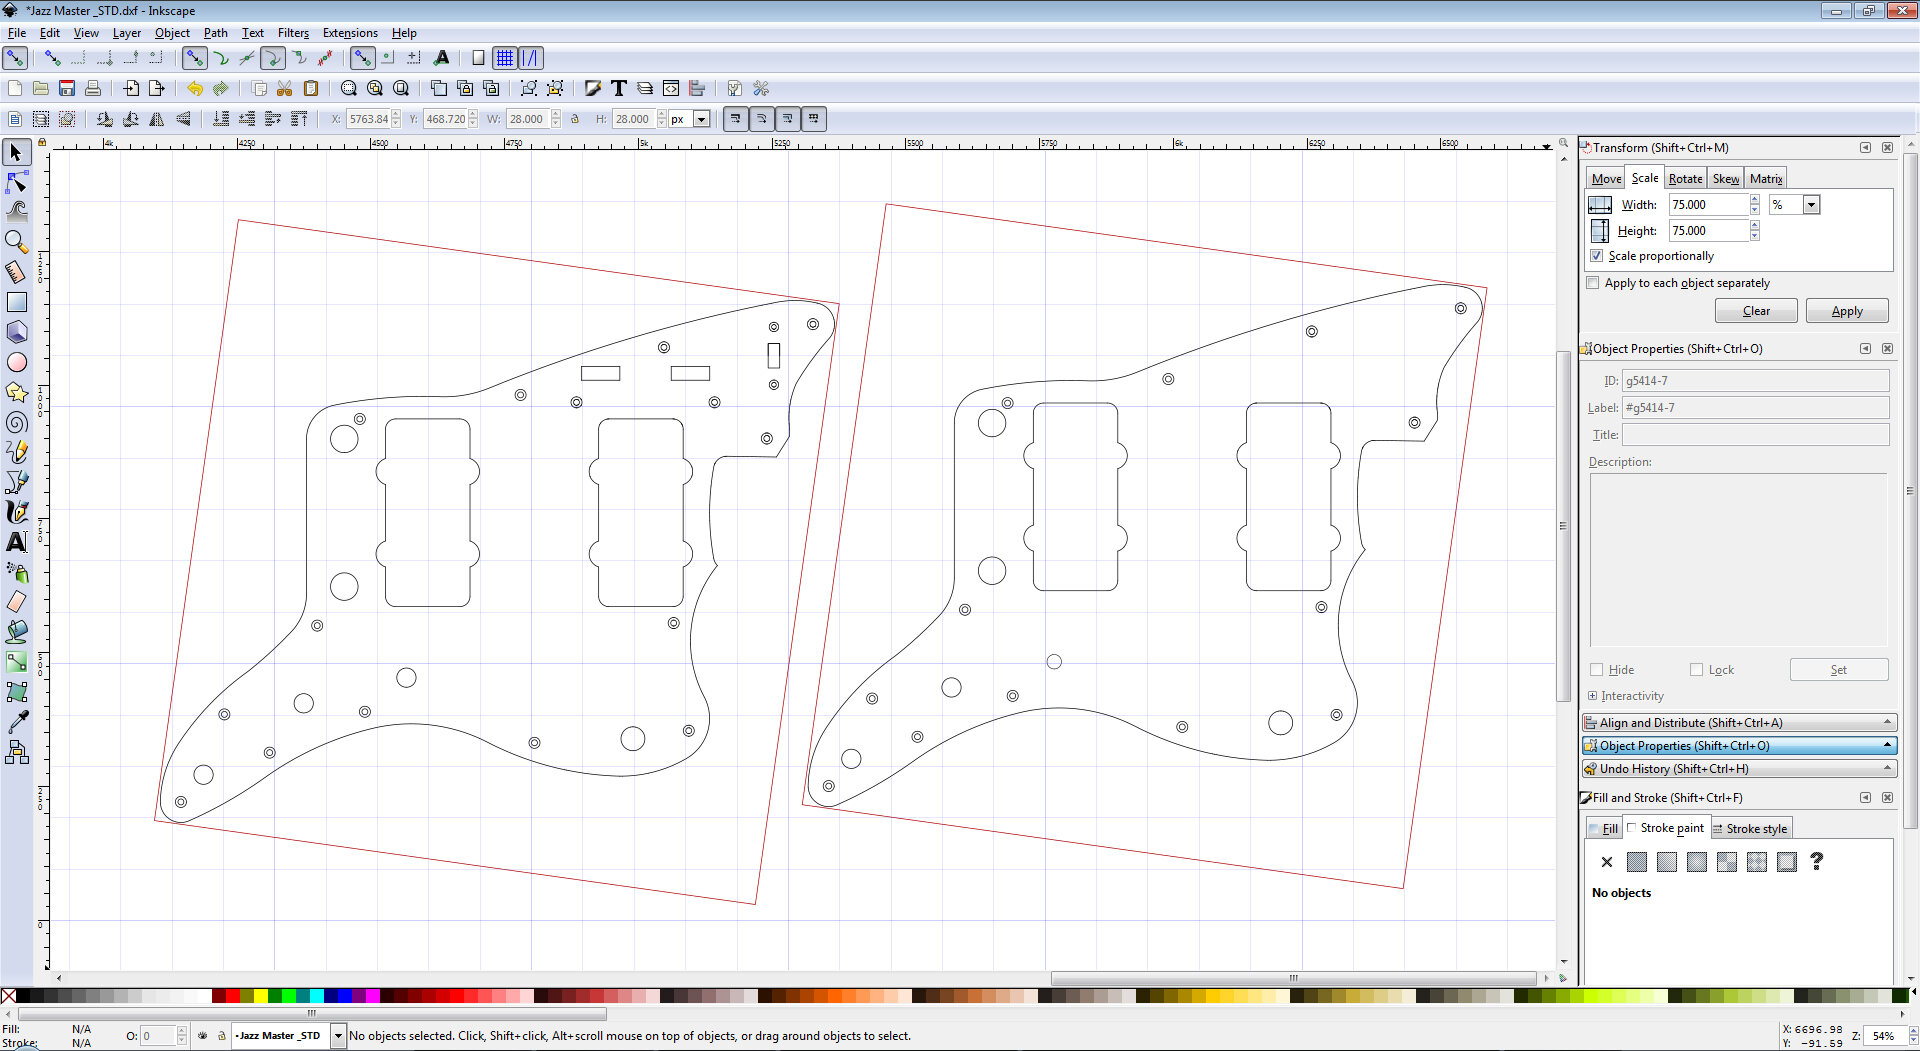
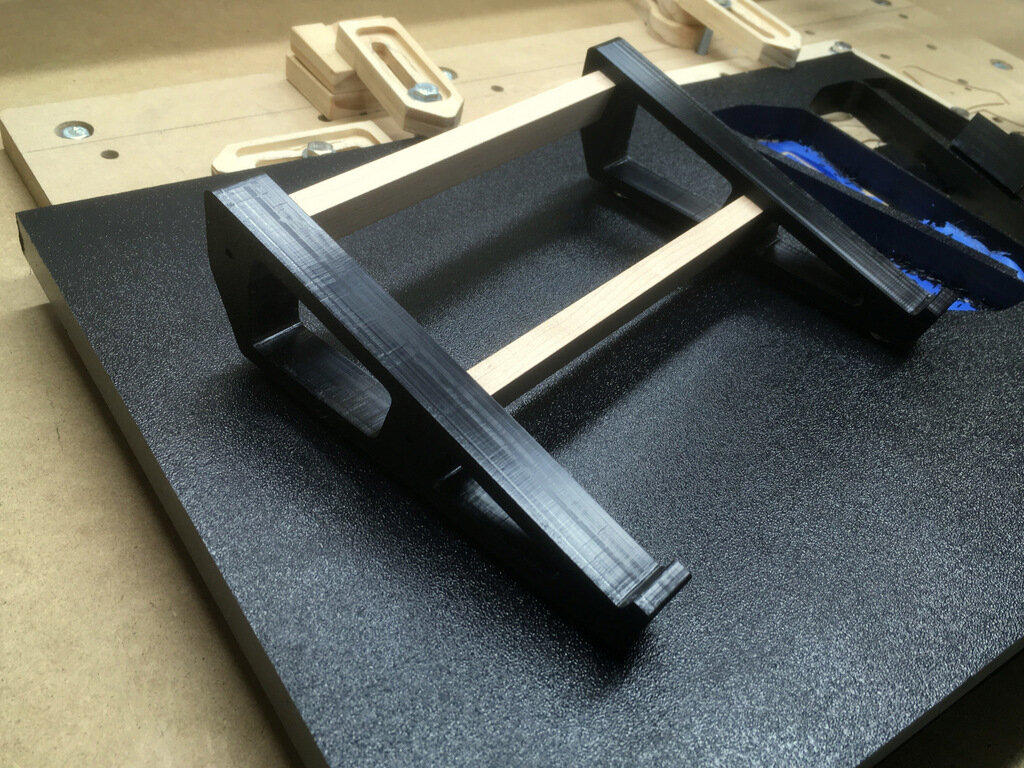
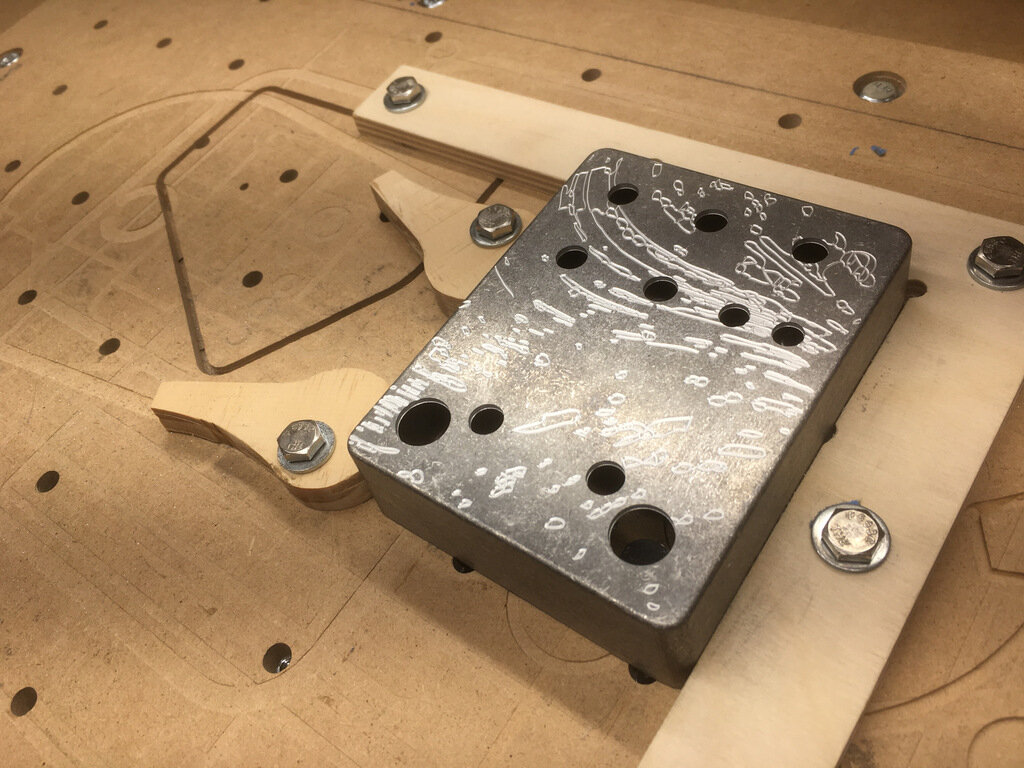
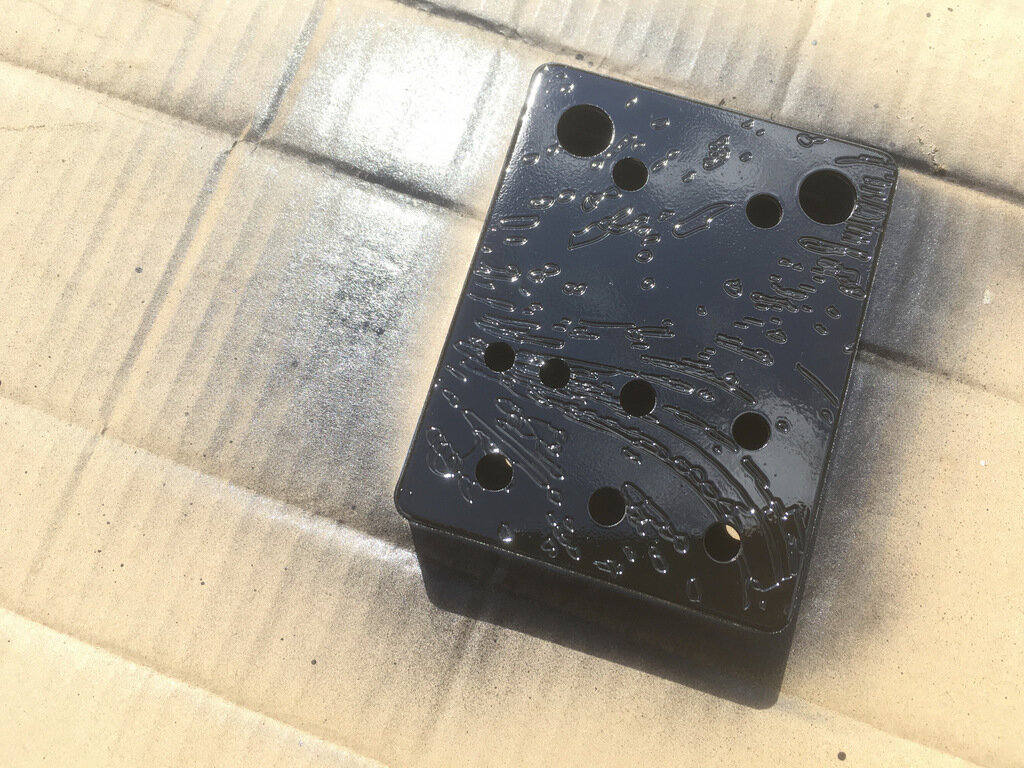
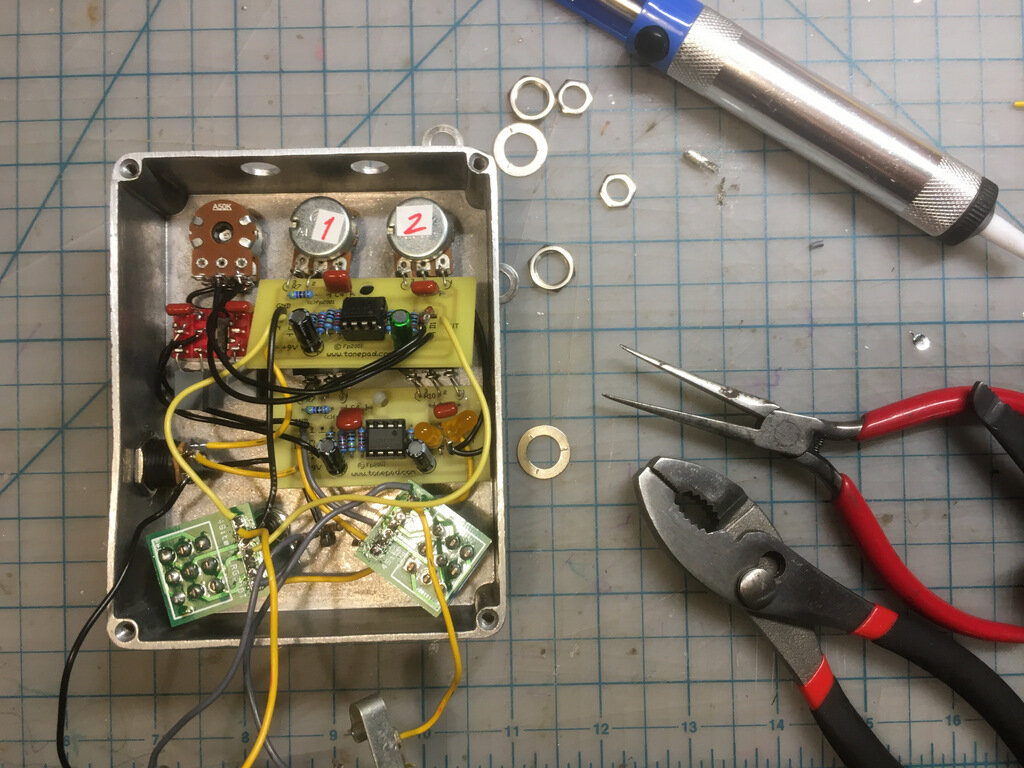
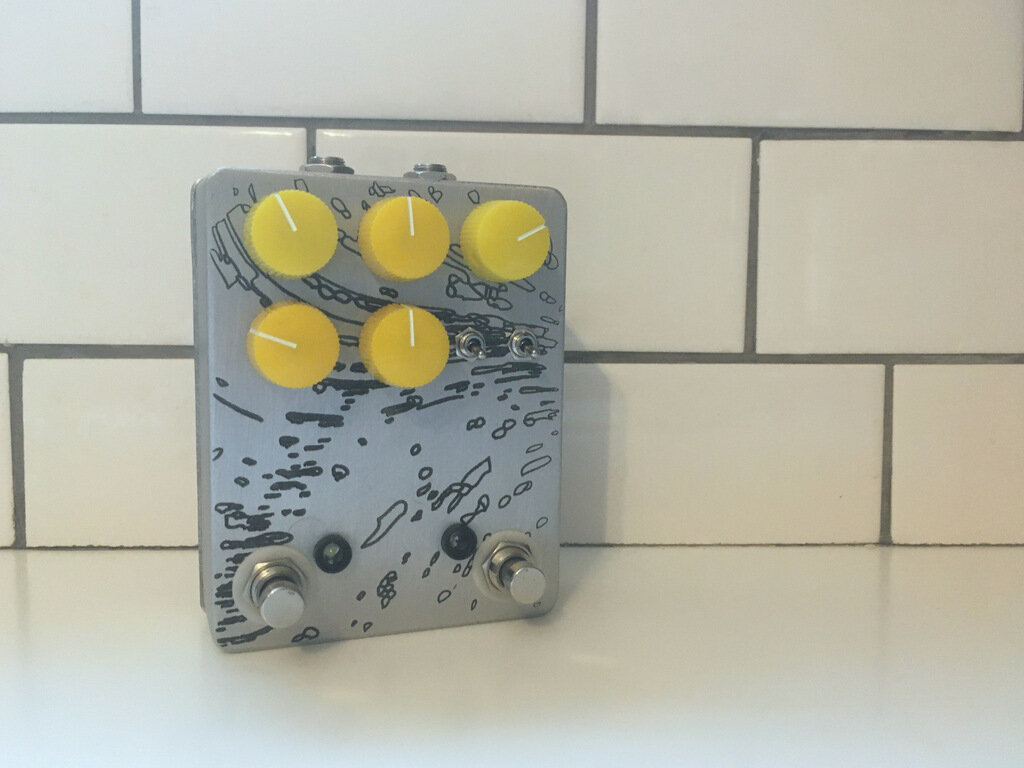
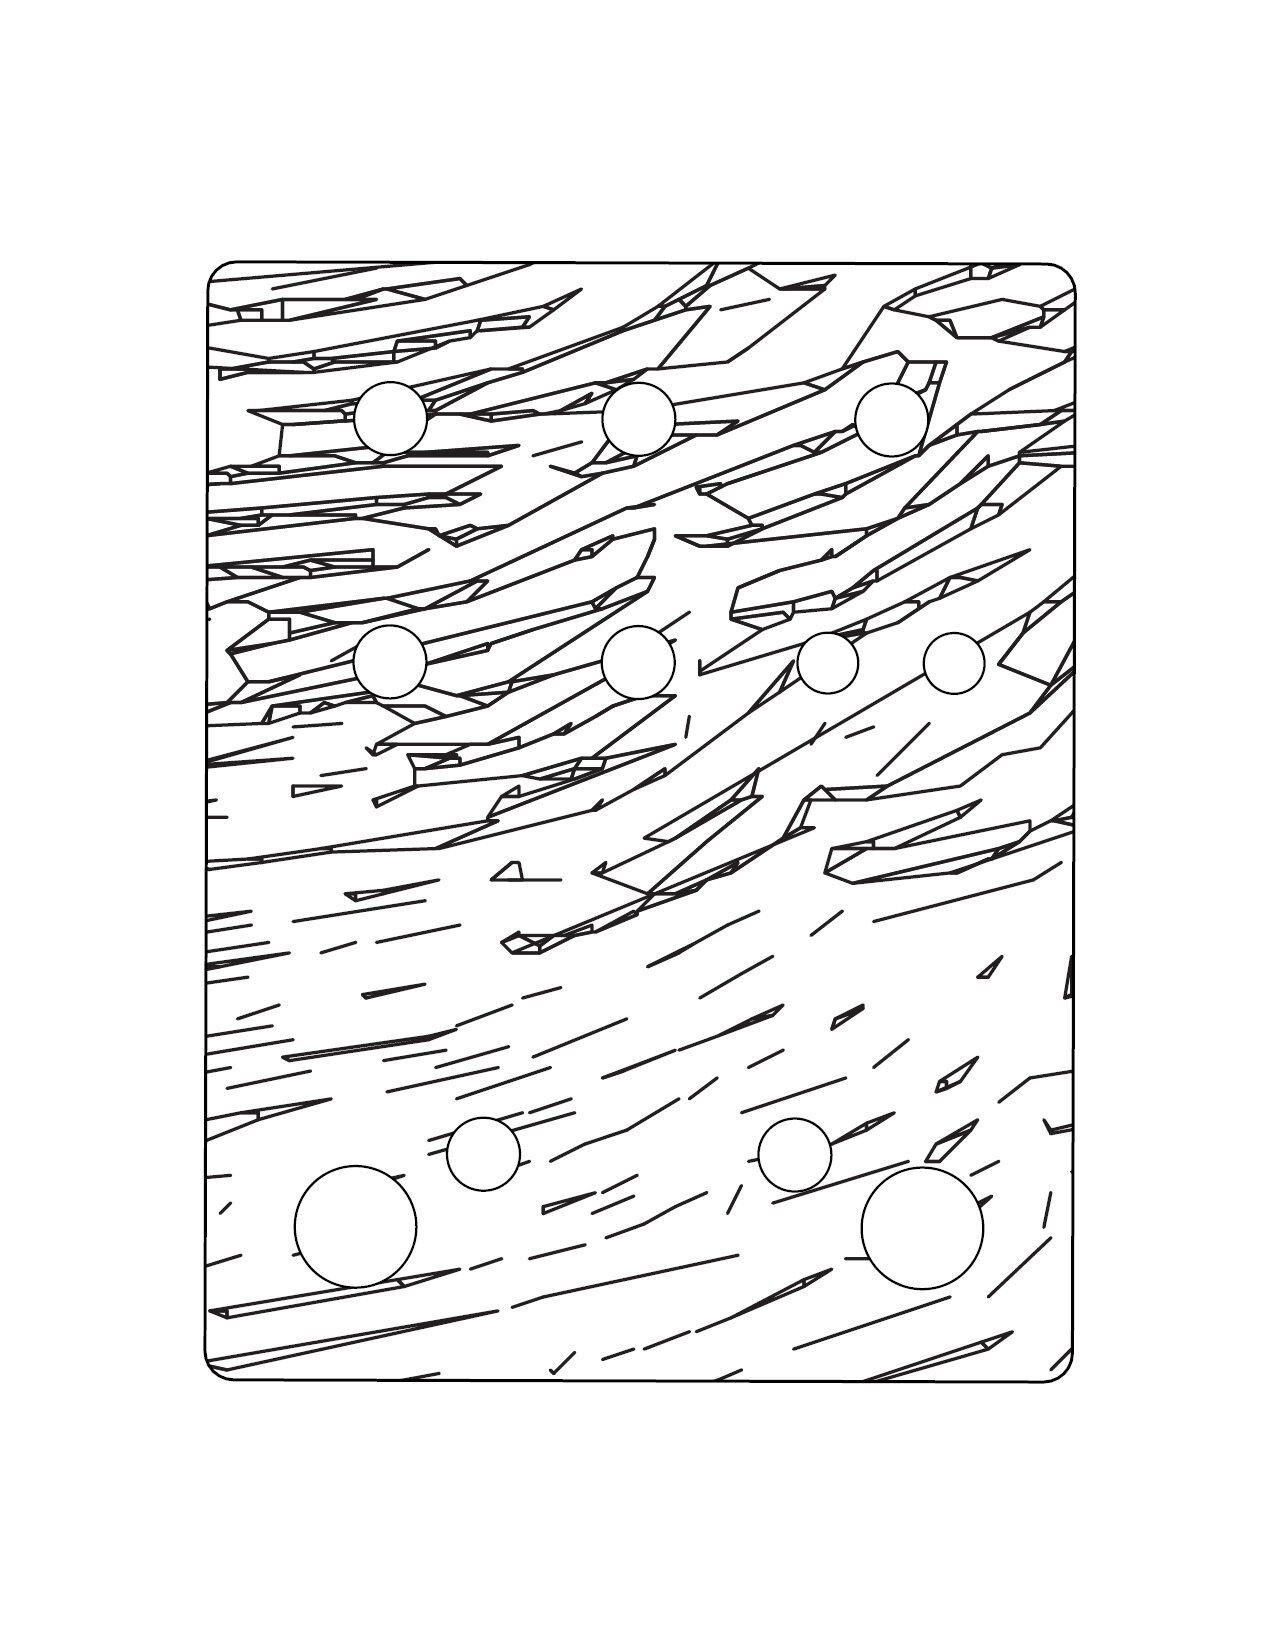
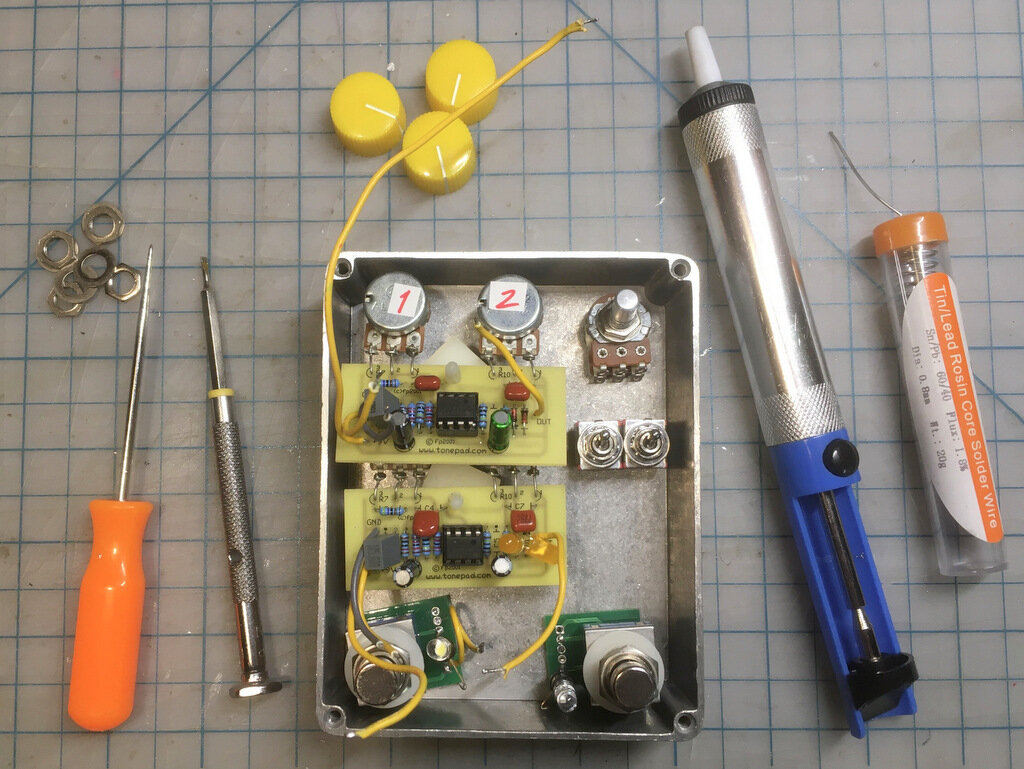
Tonight I managed to cut another faceplate for moduloti and get so so much desoldering done so I can finally get this thing all the way together and working with the encoders and LEDs. I was really itching to patch a bit tonight, but getting this done and back in the rack will be worth it.

/337 - Moving Ahead

Made more progress on the Moduloti board today. It turns out that whatever aluminum alloy was used for the panel material I have is too hard for my tiny endmills. Not to be undone, I grabbed some plastic laminate that I had and sort of matched the bare aluminum. This cut lots better (obviously) but I did have to cut a second because the hole positions put the axo board into the rail and the module wouldn’t fit.

Boards are cut and all the desoldering is done. It’s a tight fit and wiring this might not be very fun. but in the end this is going to be a really amazing tool for my case. I was hoping to have this ready by the time my modules arrive (tomorrow!) but hopefully I’ll get it wrapped up by next weekend at the latest.

/320 - All Together Now

All done, and they turned out pretty great! The stitching still isn’t the prettiest, but it felt awesome to sit down at the machine and be confident about what I was doing after all the practicing I did. These also probably wouldn’t have been my color choices, but these were what I had and after all I like them just fine. Wonder if there are white Grolsch grommets to switch out my red “straplocks.” Guess maybe I have to play standing up now?

/319 - Ready to Go, Sew

The last attempt at making an effective hot knife still didn’t work, so I slummed it back to exact-o knife and a lighter. Turned out great! haha The end design was refined (red was the tester, white is the final) to make it smaller, but also stronger around the strap. Feels pretty good now. Just need to sew both ends and thread it up, but ran out of time tonight. I’m a little worried that the webbing I have is too slippery, but will see how it feels once it’s hanging with the weight of a guitar on it. Fingers crossed for nice stitches and stable positioning.

/308 - Morning Machining

After a lot of trial and error, I managed to finish the etch. The tiny endmills needed to get all the detail just didn’t hold up so I had to bump it up after I snapped a few. In the end I don’t think it hurt the design too much and am happy with it. After that it was paint and sanding — I use course sandpaper to give the aluminum a brushed finish that I think looks and feels great. Got everything boxed up except have an issue with the template for the input and output jacks being off (or maybe my enclosure was off) so the jacks don’t really fit. Still debating on whether or not to enlarge the hole or get different/smaller jacks to make it work. So close.

/307 - Maybe Steps

Still hesitating on the enclosure for the Rip due its potentially long machining time. The file is ready, and the enclosure is flattened and secure so whenever I’m ready…

The parts for my guitar strap arrived so those are also ready to go except learning how to use a sewing machine. Luckily Ash knows and we just got her grandma’s (a professional seamstress) machine. Maybe I can learn and then make while the enclosure is running?

/304 - Not Quite Ready To Rip

I got the file all setup to run but all that detail means a tiny (.5mm diameter) endmill and a lot of time. The program currently estimates 8.5 hours to engrave, and that’s only half as deep as I usually go. There have been plenty of times when the actual time is much less than the estimate, but I’ll start here and see how it turns out. Probably work in the basement tomorrow to babysit the machine while it runs.

/303 - Ready To #Rip

I think I previously mentioned that I got a bare board #rip. pedal in a trade with my buddy Jack at droppingacidpedaletching. Well, it’s been sitting on my bench too long waiting for an enclosure to be made for it so I knocked one up tonight based on an old linocut print. I always go for bold lines on stuff like this, but this is also a nod to the man himself because he’s crazy about surf music. I probably won’t be playing much (any) surf through it, but it’s cool nonetheless. Wanted to run down to machine this tonight, but I have a feeling it’s going to take awhile to etch due to the thickness of the lines.

/299 - Materiality & Necessity

One big perk of my job is having access to lots of interesting materials. Since I got the jazzmaster I have been thinking I should get a new strap since I only have 1. The problem there is that it can be hard to find something to buy that doesn’t use leather, so I have been brainstorming alternatives. I found this piece of rubber flooring in my stash and it seemed like a good candidate, and a quick test seems to agree. It cuts fuzzy, but with the right tooling and setup I bet it would be very clean. I just want to test weight resistance/tearing and the potential for abrasion of the guitar finish. Either way I’m happy that I just went for it instead of overthinking as is my wont.

/295 - A Good Project Day

The jazzmaster template is scaled correctly, which means the annodized aluminum panel I have is big enough to cut the guard from!

Ash’s marketplace skills paid off big time with this lot of 60 rolls of expired Kodak Max 400 — all for $10!. It’s not the most special film, but it should keep us set for snapshots for a very very long time.

I tried to desolder the oleds but they just wouldn’t budge and I didn’t want to destroy them. Decided it was easier to just cut a new board on the cnc and it turned out very nice. It’s really hard when the pitch is this small (for example, look how spacious that through-hole destined board is) but this works. I really need to work out a better process to get from layout (via DIYLC) to a file the machine can cut. Then I need to work out a better process for leveling and engraving. Always more to learn.

/293 - Well Enough Alone

I have been playing this Jazzmaster SO MUCH and am into everything about it: the way it plays and the way it sounds. The only thing I can’t shake is all the extra controls that I don’t use — for example, I modded my Jag to have a single volume and a pickup selector switch. I am looking to do the same thing here, except retain the separate rhythm and lead circuits. This would leave a single volume, channel selector switch, and pickup selector switch. Still need to figure out how to wire it and if I’ll need unused pots, etc under the pickguard to get the same tone out of it.

As for the pickguard — I think I am going to leave the stock plate and electronics as is and just make a new one with pots, jacks, etc. Then I just have to detach the pickups from the stock guard and solder them to the new. I just so happened to have some metal panel samples I got from work that I think will just fit the guard, but I need to print it out to make sure everything is scaled correctly. Slap it on the cnc and that’s that, right?

/236 - Old Beginnings

Re-found these old bells (salvaged from the wall-mounted rotary phone in the hallway of the last house we rented) and remembered something I have wanted to do with them. So I started doing it…

/233 - Knock It Out

I didn’t jinx myself yesterday and look what happened — project complete. I modified the design because I realized that the model I posted yesterday would have problems with lateral stability. It’s a simple set of parts, but still pretty proud of how it turned out. There is a bit of roughness on one side of the cuts due to my endmill just barely reaching to finish the cut, so I’ll have to look for something longer for future jobs. I tried to take a picture of it on the desk, but it’s not the easiest thing to see. Fits/works great!

/232 - Desking

The new midi setup is working very well. Routing changes are easily made then I don’t need to think about it anymore — it just works. Ergonomically, I need a small riser stand to angle the iPad and/or Model:Samples on the desktop. Took a few measurements and then drew this in Sketchup — will try to cut it on the cnc sometime this week.

(I was going to say “tomorrow” but you know how it goes.)

/212 - Complete!

Catching up on getting posts up — we’ve been without internet since Monday afternoon when a truck drove down our street and caught the wire, ripping it off the house and street pole.

I finished up rehousing the dual OD250 with mods on Monday night. The wiring could be cleaner, but so long as it works I don’t see the wiring once it’s closed. haha. I try to get better at it each time but there was a lot going on in a tight space with this as well as existing wiring to be rerouted. You can find info on the mode here. I’m going to play with it for awhile, but I think I am going to tweak the input caps on the switches to give more distinct modes. Pretty happy with how it turned out.

(I have another pedal project coming up so now I’m sort of on the hook to have super clean wiring.)

/205 - Squiggles and Blocks

I’m still pretty obsessed with making these. Reminds me of a few pieces I made in school — images reduced to color fields and then reproduced with stencils and paint or cut paper. I’m slowly working out the logistics of using the cnc machine for things like this. I like the idea of using/abusing it as a tool to make art.

/204 - During, pt 4

Finally etched the enclosure today! Set it up, held my breath, and pushed the button to make it go. Worked great and am happy with how it turned out. Then I got it painted and sanded so now it’s ready for reassembly.

I also had a great Father’s Day hanging out with Ash and Emi. Picnic lunch and then some project time. Dinner together and then our usual bedtime routine. I couldn’t ask for anything more.

/202 - During, Pt 3

Felt inclined to try the enclosure art with paint pen as a test run before cutting into the aluminum. Not sure why since I’ve got the setup ready and have done it before. I guess because I wanted to see the design in print before committing. It’s fun to watch the machine work anyway, so no harm done except (at least, I’m slow) one more day before I can put it back together.

/192 - During, pt 2

Have been having a tough time coming up with graphics I like, but these are both pretty nice. Abstracting pictures into vectors is a lot of fun. Want to do something a little different (color) than I did on a few other enclosures, but not exactly sure how I can pull it off yet. Hrmmm.

/190 - During, pt 1

Turns out this is going to take more rework than I initially thought. I made myself a roadmap and then started taking things apart to test fit in the new enclosure. It will work! Just need to finish the graphics and etch, then I can put it all back together.